
In the previous passage, we believe most of you have known the basic information of streaming services and streaming terminology. This time, we decide to give you a brief introduction of the vital options and features on screen recording star. Even though you are not familiar with screen recording star, you can use it easily by following the steps bellow and reading carefully.
We have screened several important sections for you to study and use.
Get Started
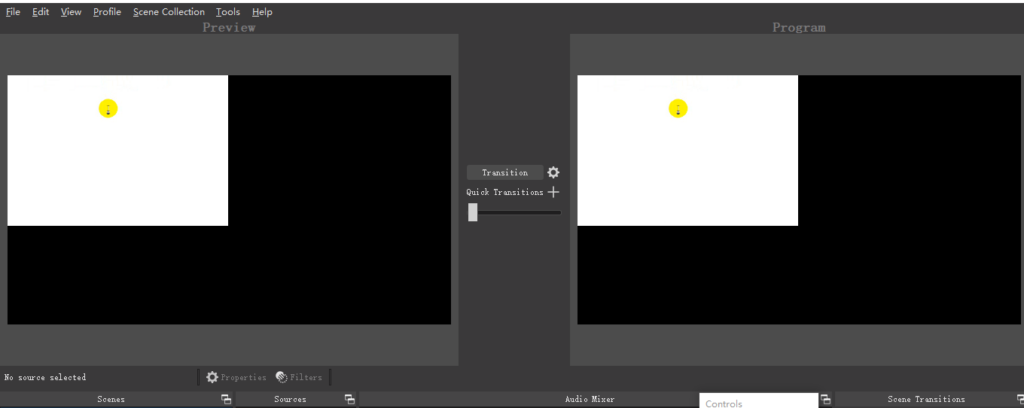
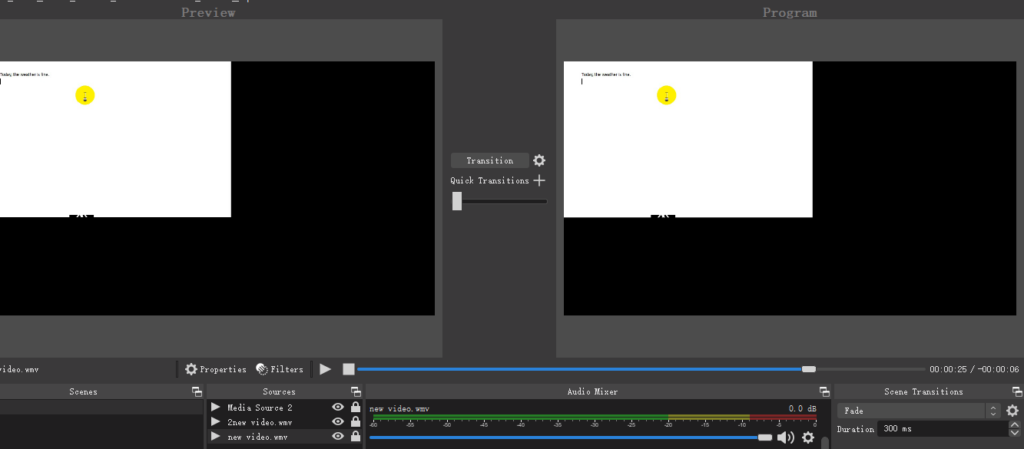
Opening the screen recording star, the four main sections will be seen in the home page. They are “Preview”, “Program”, “scenes”,”Audio Mixer”. You can get the according functions in these sections. Adding the media source to it, you can preview it at first. Then select the media source and open it, at this moment, you can start recording or start streaming. By the time when you stop recording, this program will be shown and you can see the recording visual presentation. There are many factors to influence the visual interest. First of all, the quality of the media source affect the recording visual presentation. Secondly, you can change the output setting. By changing the video bitrate and encoder, and output mode,you can see the output video quality is different.
Easily Settings
Generally, most settings are fairly self-explanatory. This will not
influence the whole thing but it will be an overview of the basic information. There are seven main sections in the setting area.
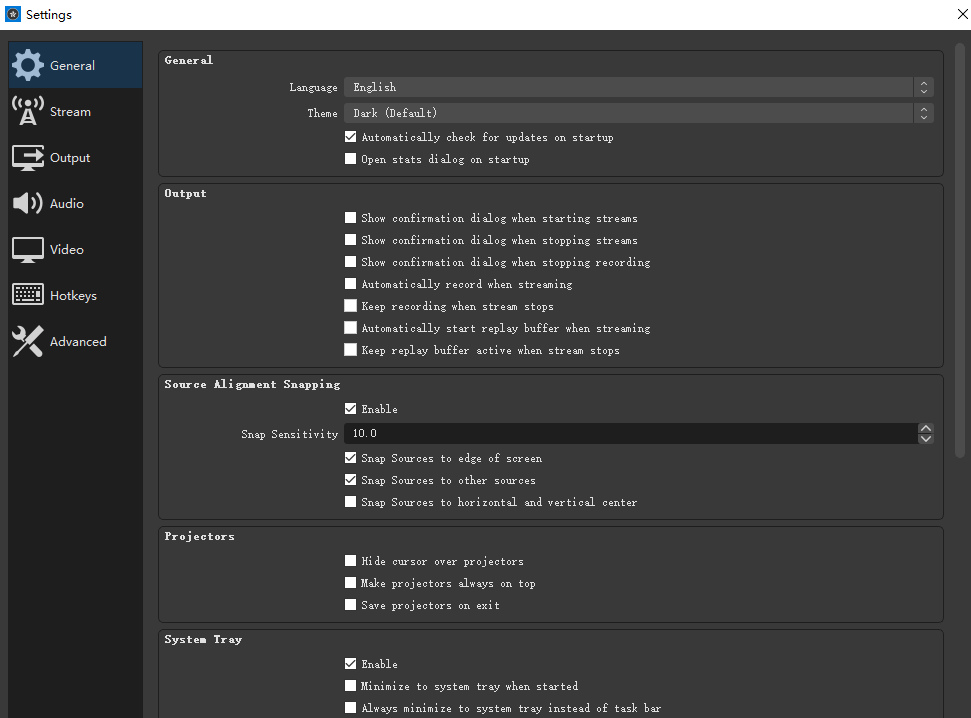
The general setting is the first one. There are many elementary information for you to edit. It is obvious to know the setting meaning. The name of the setting list is clear,just like most of the software general setting. For example, if you want to check the output setting, look at the output box in the general setting and confirm the according list. The list such as “Show confirmation dialog when starting streams”, “Keep recording when stream stops” are easy to get the meaning.Easy to use and set.
In the stream section, you can set Service, Server, and Stream Key. Choose one of the included Services( Check “Show all services” to see the full list ) or set Custom Streaming Server.
Output part covers simple output mode. This section is relative to the output quality. You can select simple and advanced output mode and video bitrate. The rest of the output information is alternative for you. For instance, you can set your recording path or use a different encoder. But the encoder option will not show up until you choose a recording quality other than same as stream.
Audio and Video setting. When you come to these section, all the lists are prepared for audio mixer and video quality. Reading them carefully before check.
Hotkeys enable you to use the screen recording star efficiently. You can set hotkeys to do general work quickly. But you should remember the hotkey you have set or it will do nothing.
The advanced setting is always default. Normally you don’t need to change it unless you really need to change them.
Now, we believe you must get familiar with screen recording star.
Last but not least, we recommend that you test everything as good as you can before starting your first live stream. This will help you make sure every performance is okay wile working.