Nowadays, we usually talk about image editing of personalized operation. Most users want to edit efficiently by using multifunctional editing software. Especially the photographer, their main work is to edit the photos. They really need a useful and affordable software to edit images. Photo editor is the very one they need. Except the basic functions such as resize, crop, and rotate, it provides free text, title frame, caption, free drawing, shapes, and watermark.
Photo editor is powerful and unique
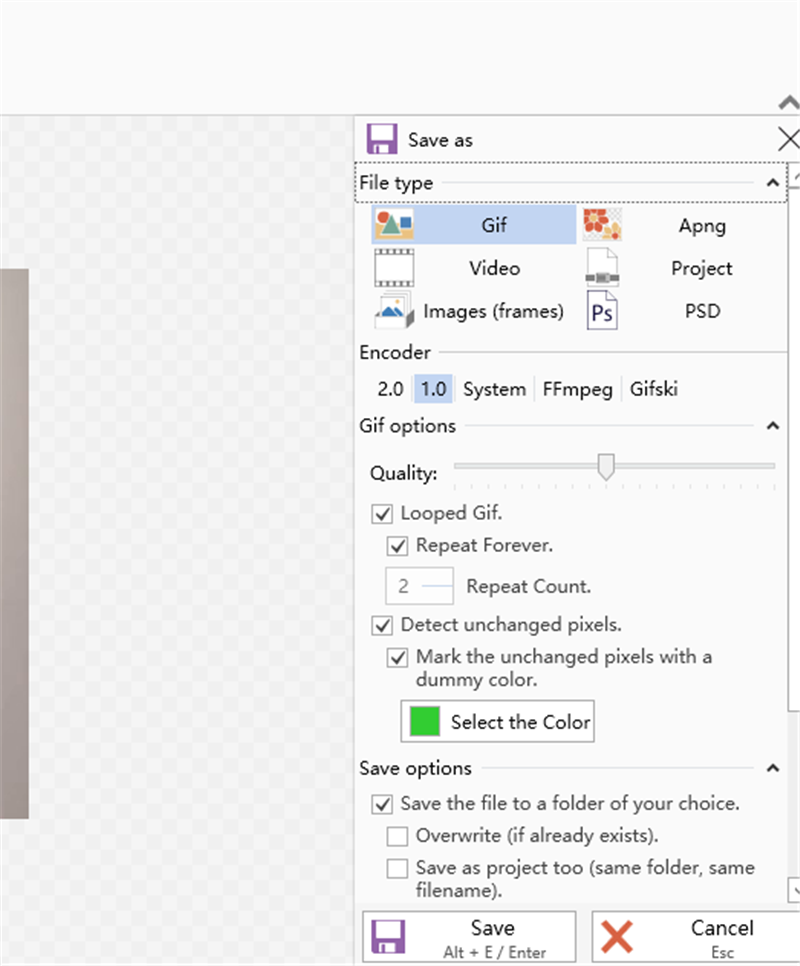
Why we say the photo editor is powerful and unique? Maybe you cannot find some of the extraordinary functions at the very beginning. The first one we have to mention is save as GIF. We often see GIF images on the internet website. It is one of the dynamic graphs that commonly used. The capacity of GIF is smaller than videos so videos can be replaced by GIF images. What’s more, your website and self-media account are able to operate fluently when you upload GIF instead of videos. The “Save function” is not free. Users have to pay $4.99 for it. The second extraordinary function we want to tell you is watermark. We know most other photo editors cannot support this function because it requires high standard technology. But you can add watermark by using our photo editor quickly and easily. Open Photo editor and find image editing page and click Watermark icon. After uploading the watermark image and setting up some relative parameters, you accomplish watermark operation.
Basic Features
There are also some useful basic functions we want to tell you. Open Photo Editor, there are three module-documentation, homepage, and image editing. On the documentation page, you can choose the photos that you need to edit and check the recent items. On the home page, we provide the fundamental document editing. Users can copy, paste, and cut the image and your images can be copied according to the frames you select. The proportion of the image can be adjusted on the home page. You can choose “set Zoom to 100%”, “Size to content”, “fit image”, or write the figure directly to change the size of photo.
In the previous paragraph, we have mentioned the “watermark” and “save as”. You can save your work as GIF, Apng, Video, project, images(frames), PSD. At the same time, you can also set up the parameters accordingly.
The “Cinema-graph” allows you to make videos. Before accomplishing a video, you have to set up some information to ensure the desirable outcome. Choose the “Pen” or “Select” to confirm the area and change the figure of width and height to edit size. If all of the information have been confirmed, you can finally select “Apply”.

The text explanation is available on the photo editor. You can add caption, title frame, and free text on your images. These different options determine the position of the text that shows on the image. You can also choose the font size, color, and style. If you want to draw lines and pictures, please use “free drawing”. You can highlight the part that you want to show viewers.
Please remember the Photo Editor can be downloaded in Microsoft Store. https://www.microsoft.com/en-us/p/photo-editor-drawing-resize-crop-boarder-watermark/9n7ltrtqht52?activetab=pivot:overviewtab
Hope you enjoy your image editing trip.